Prepare Document(s) for E-Sign
When you need your document to be signed and not just reviewed, you’ll need to make sure your document has the signer tags included. An example of the signer tags can be seen below.
Add Signer Tags
E-Sign documents need tags so that it can allow signers to add their name, date & signatures directly into the document.
1. Open the document in an editor/word processor
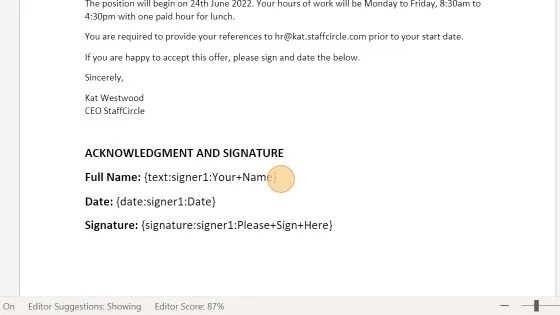
2. Add this tag next to where you want the signer to type in their name:
{text:signer1:Your+Name}
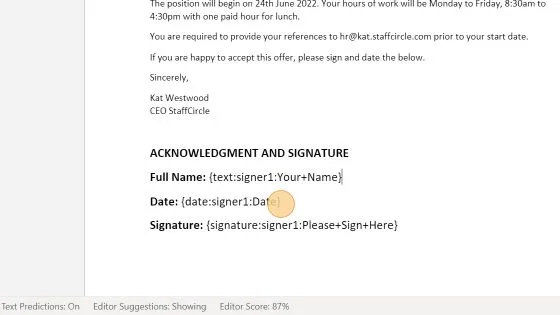
3. Add this tag next to where you want the signer to add the date they are signing the document:
{date:signer1:Date}
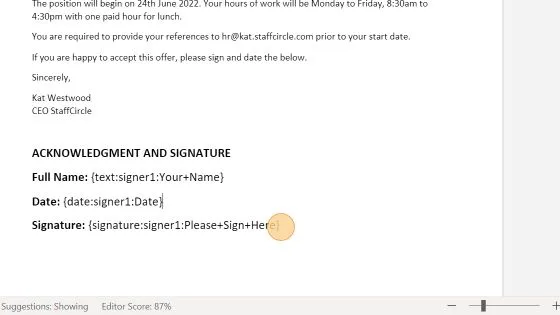
4. Add this tag next to where you want the signer to sign:
{signature:signer1:Please+Sign+Here}
Multiple Signers
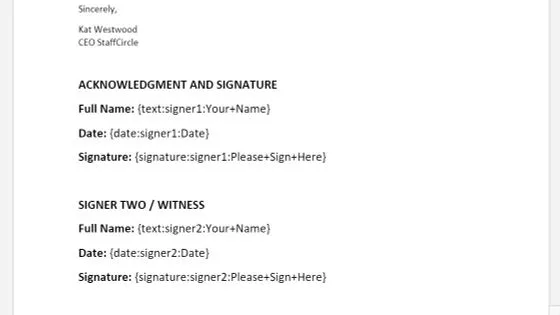
For each new signer you need, you can copy and paste the tags and replace the “1” with a “2” and so on.
5. Example of having 2 document signers below:
Next Step: Create & Send E-Sign Envelope
You’re now ready to send documents out for signature. To do this go into Manage mode and to People & Groups>E-SIGN (you can also select the E-Sign folder within individual employee records to send documents on an isolated level.)