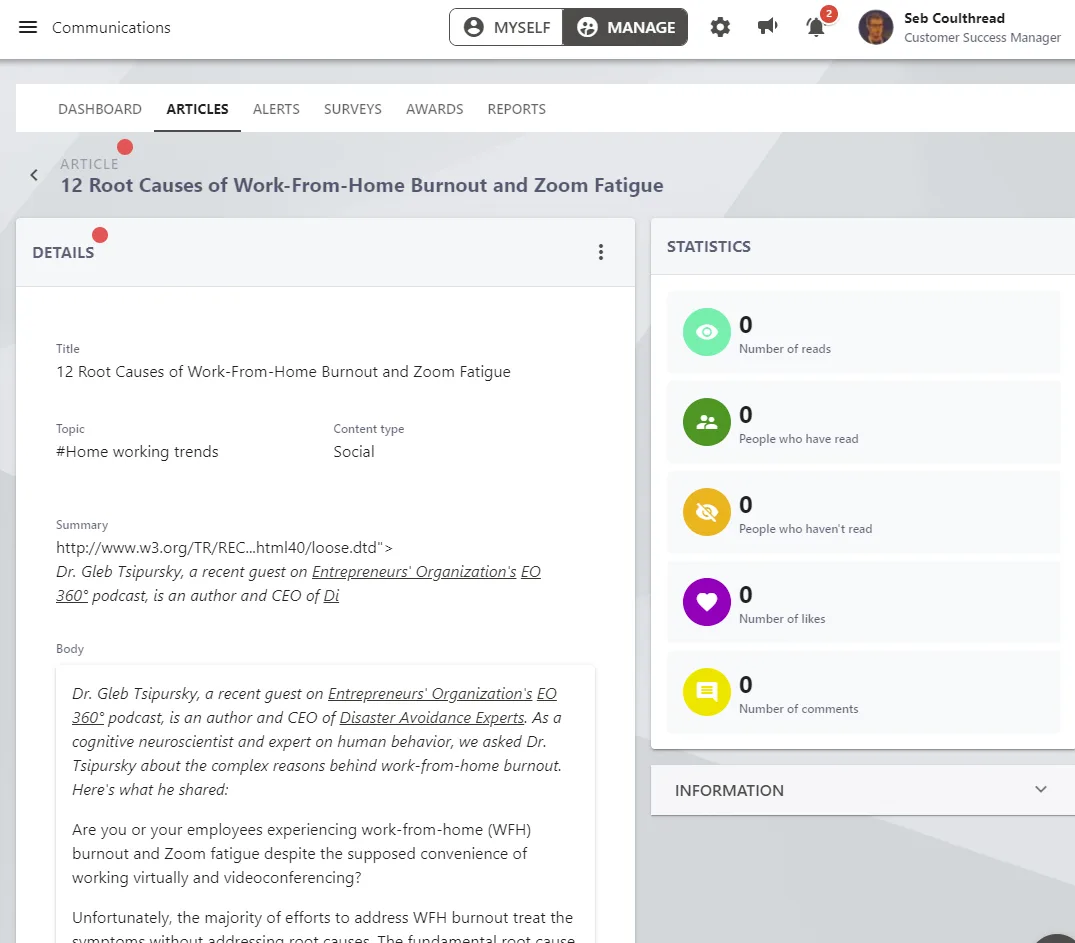
Feedly Integration with StaffCircle through Zapier
Prerequisites
This integration requires the following:
- Super User access with the ability to access the integrations area of the StaffCircle platform
- A Premium (or above) subscription to Zapier
- A Feedly Account
How this Integration Works
Adding an article to a Feedly board triggers a Zapier Zap to run a piece of Javascript which adds the Feedly article into the draft article section of the StaffCircle platform.
Setup and Installation
Step 1: Set up Feedly Action
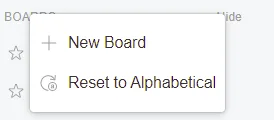
To trigger the Zapier action, an article must be moved to a Feedly board. To add a Feedly board, right click on 'Boards' on the left hand Pane and click 'New Board'
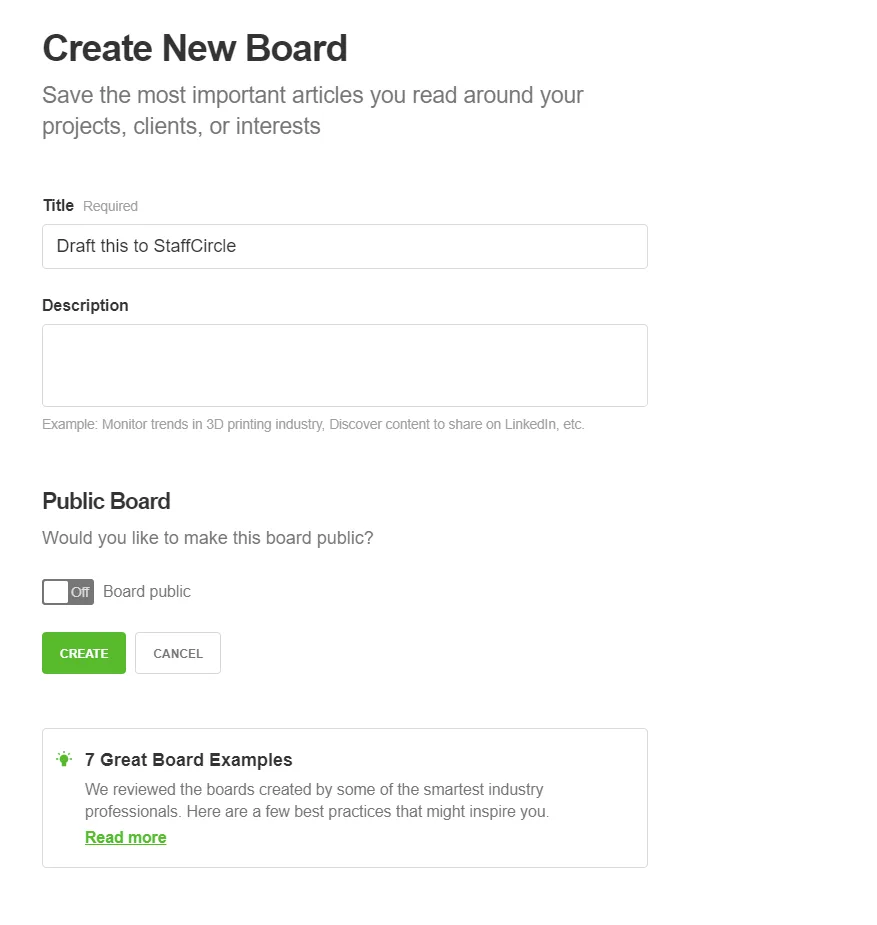
Name the board and click 'Create'.
Now we need to add an article into the board to add information for the Zapier to use. Hover on any article and press the Star. This will then allow you to add the article to the newly created board.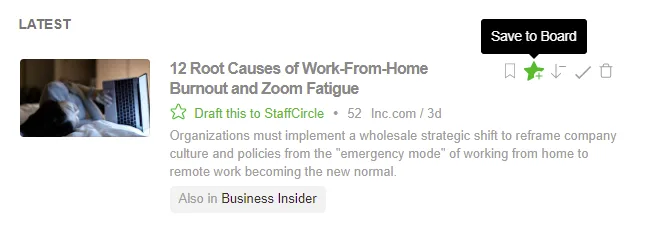
We should now have an article in our board to test and build the Zapier from.
Step 2: Set Up StaffCircle for Zapier
Log in to StaffCircle as a Super User and Navigate through Settings > Integrations > StaffCircle API.

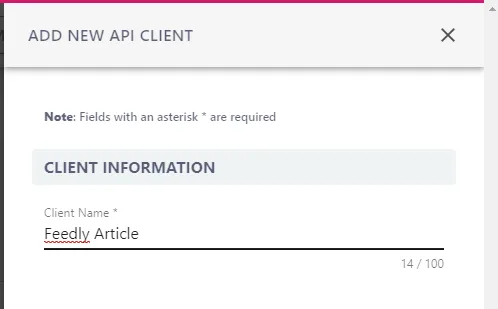
Press  on the right hand side of the screen to create a new API. Add a name to the client name and click save.
An Orange headed box will appear. Do not close the box. Keep the StaffCircle tab open. We will need these details later.
IMPORTANT: ONCE THIS BOX HAS BEEN CLOSED, YOU WILL NOT BE ABLE TO ACCESS THE SECRET AGAIN
Step 3: Set Up Zapier
Open up Zapier and create a new Zap.

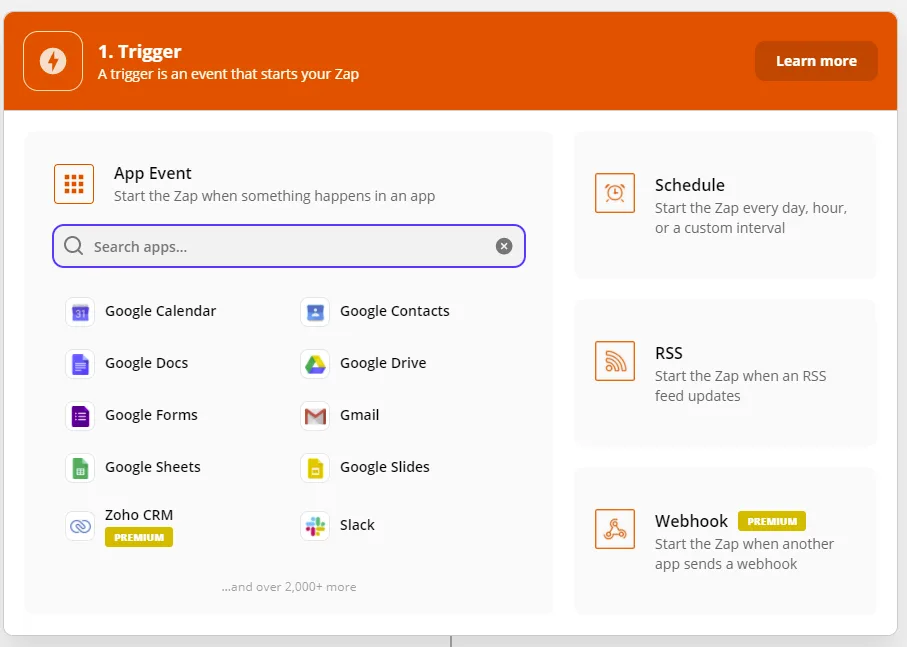
Search for Feedly under the App Event.
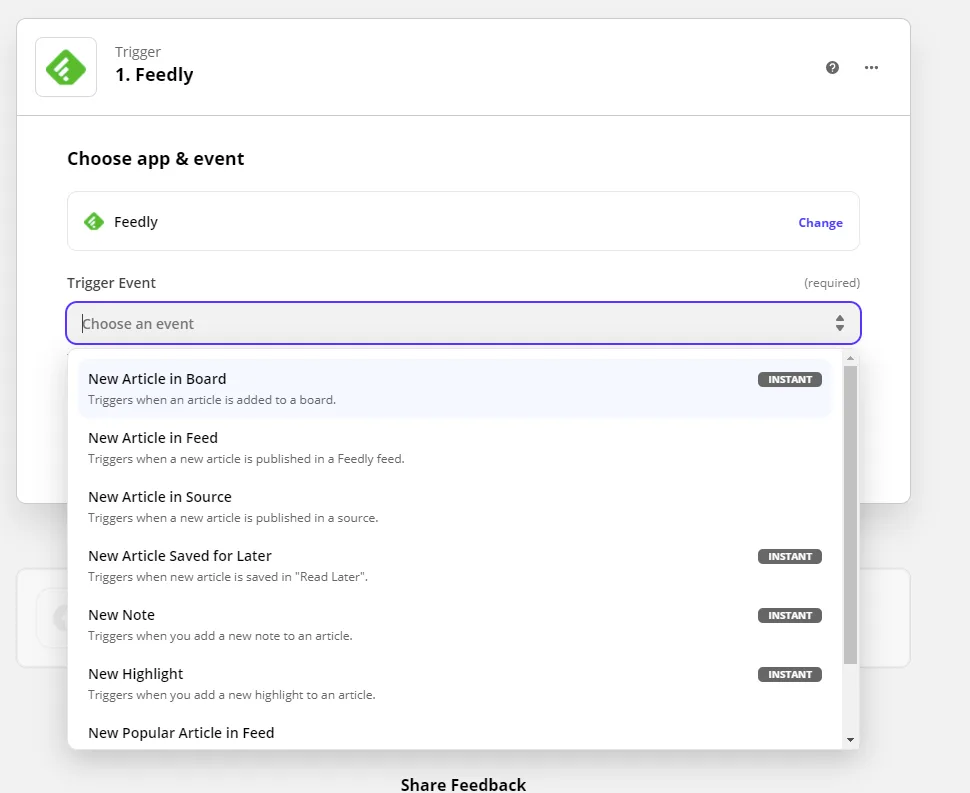
Select 'New Article in Board as the trigger event and press continue.
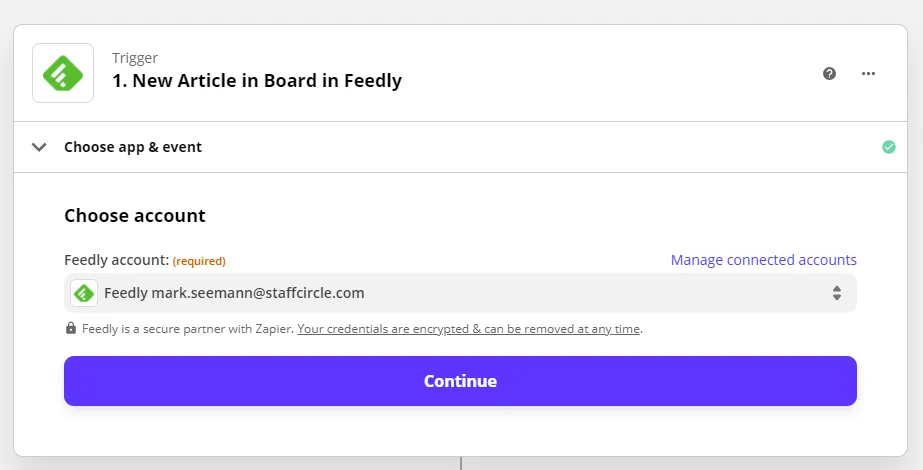
Connect your Feedly account (you may need to Log In and authorise Feedly if this is the first time you are linking Zapier and Feedly)
Select the Board we created in Step 1 as the trigger and click continue.
 Test the trigger.
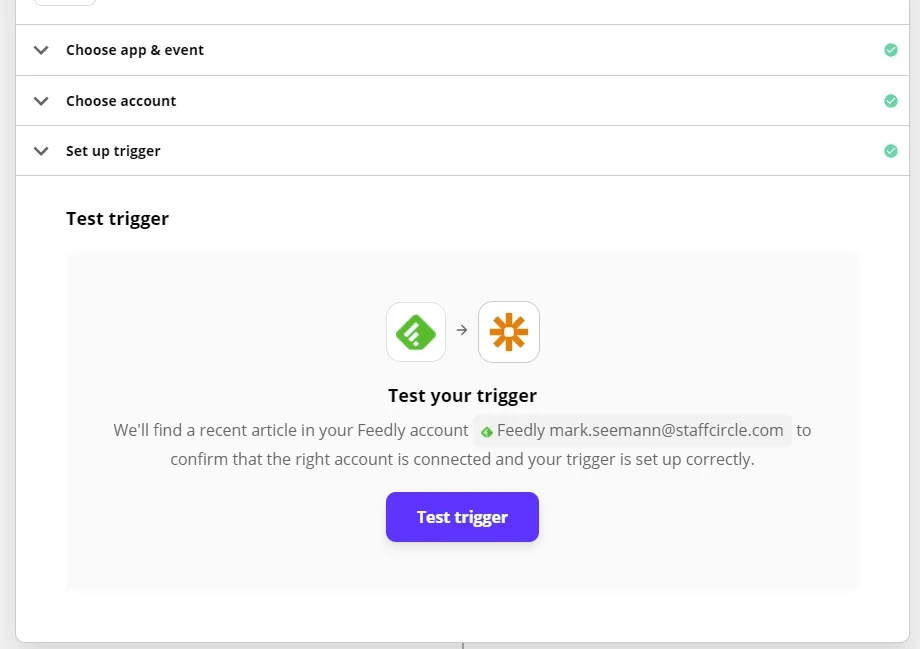
Zapier will use the article added to the board to test the Zap is working correctly. Press continue again.
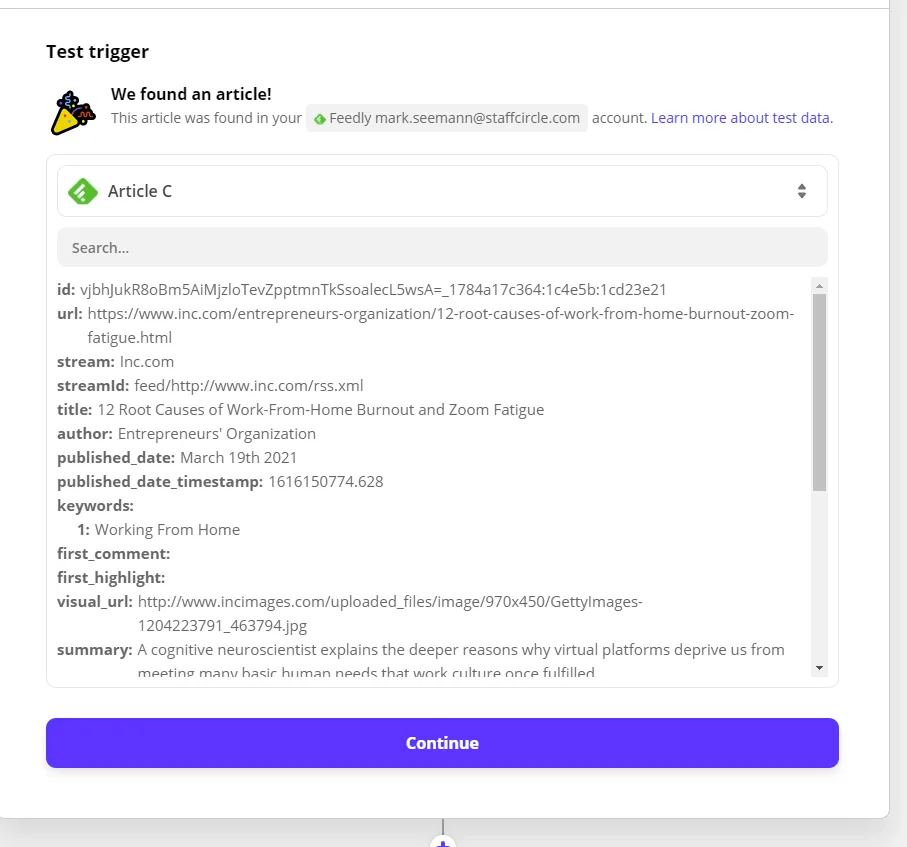
Things now get a little more complicated. Don't worry, we will take you through step by step!
In the Action screen, type code and select 'Code by Zapier'
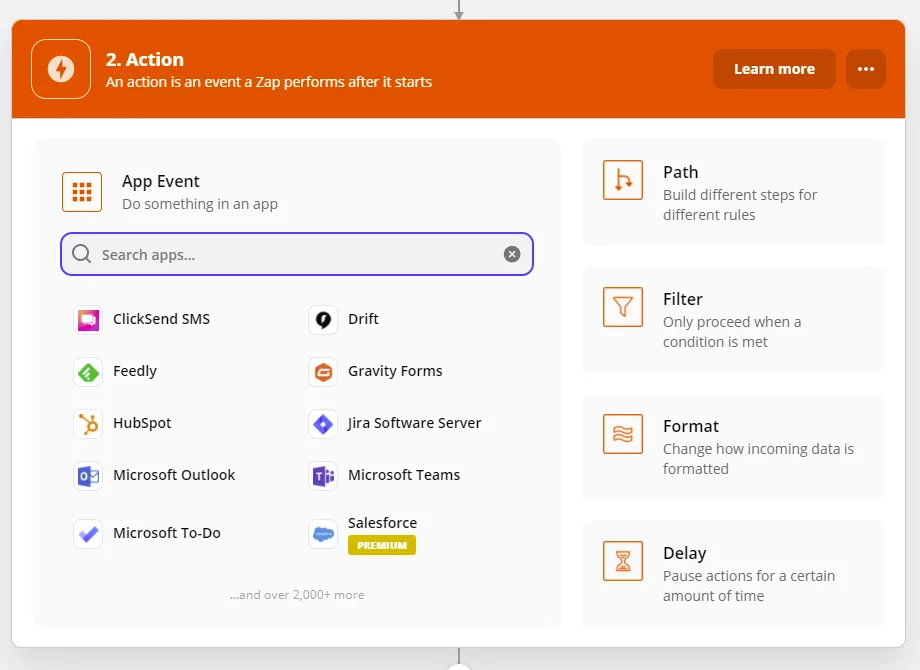
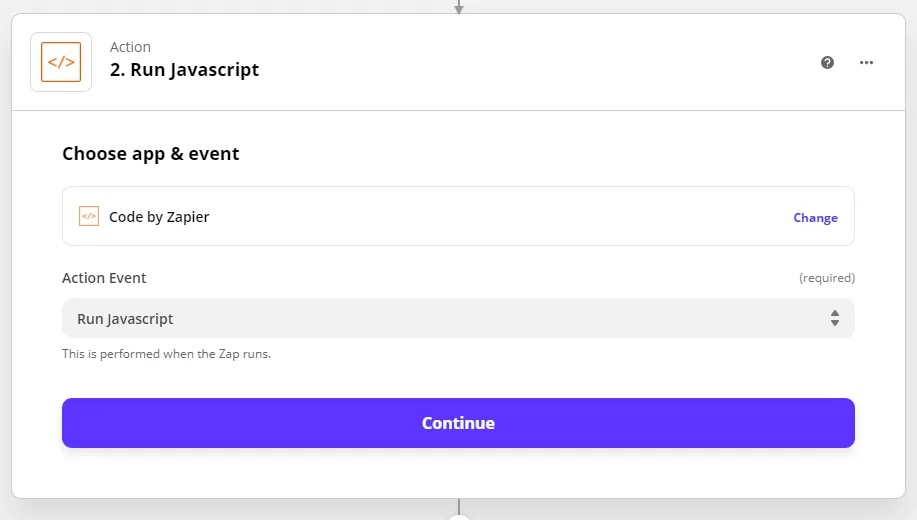
Select the action event as 'Run Javascript'. Click Continue.
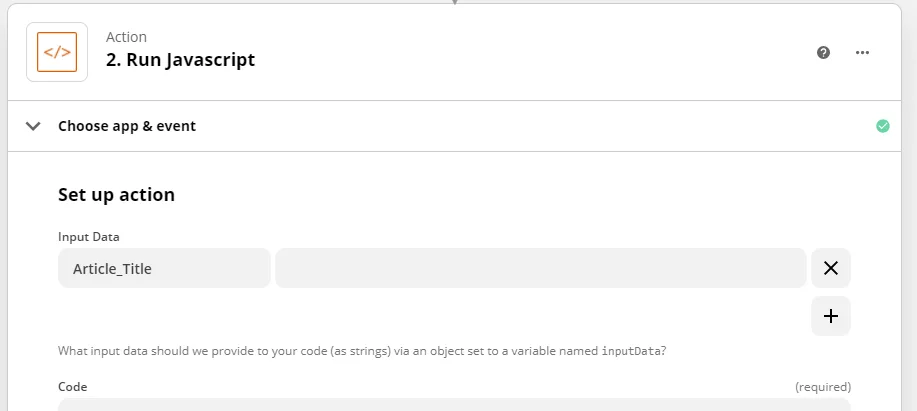
The 'Set Up Action' box has two sections. We will tackle these individually. Firstly, let's start with the 'Input Data section. We need to enter 4 values and link these up. Start off by clicking on the first box and copying and pasting: 'Article_Title' without quotes into the first box. You should have the following:
Next click on the right hand box and select 'Article Title'. 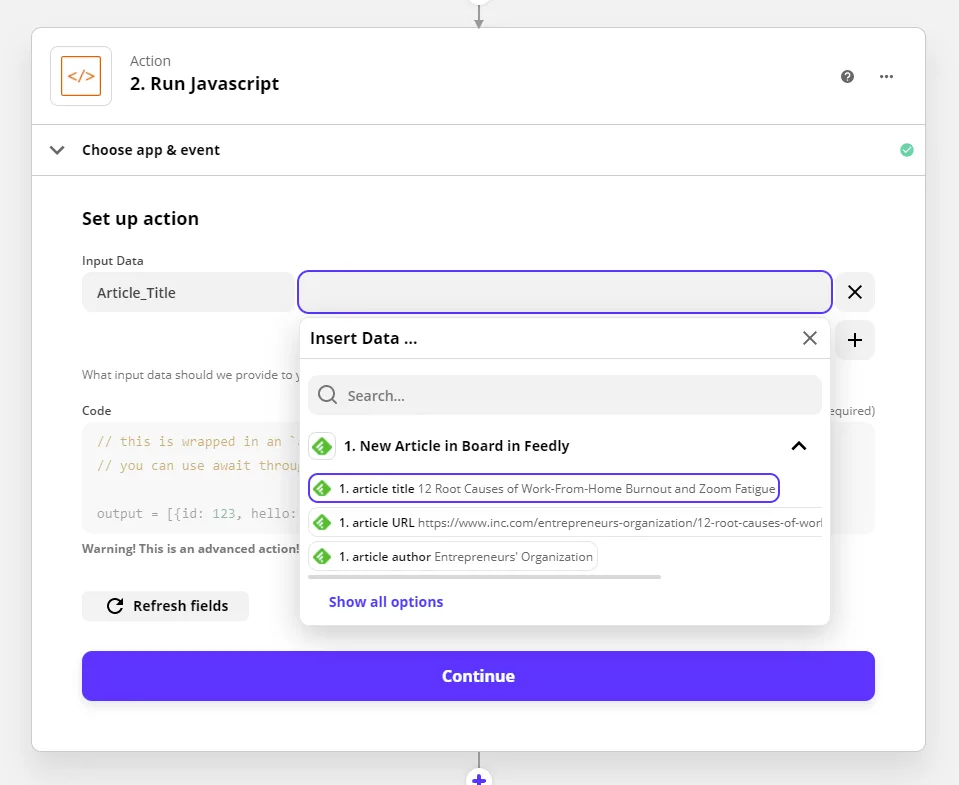
You should now have the first variable mapped as below.
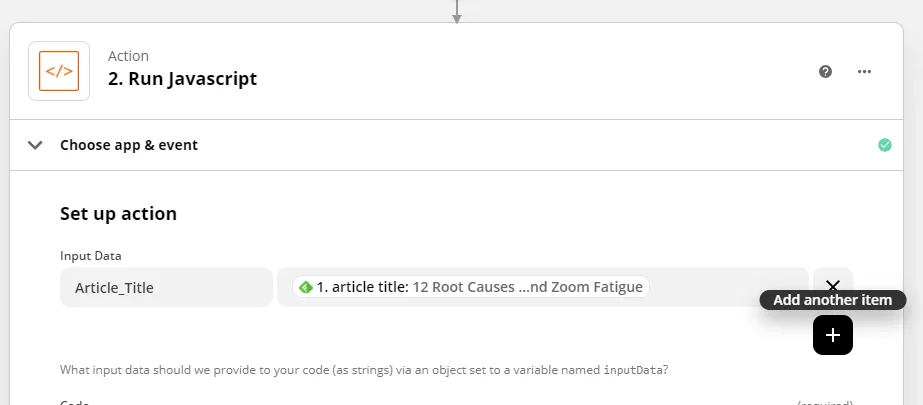
Now lets add the remaining 3 variables. Copy and paste the variable name from below. It is important these are spelt correctly for the automation to work. Once pasted click into the right hand box to add the 'Maps to' section.
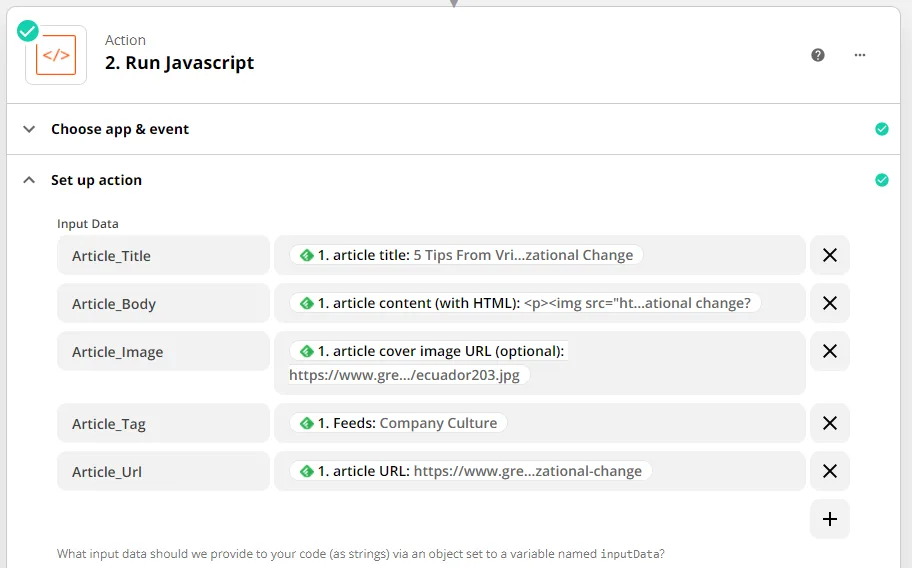
| Variable Name | Maps to |
| Article_Title | 1.article title |
| Article_Body | 1.article content (with HTML) |
| Article_Image | 1.article cover image URL (optional) |
| Article_Tag | 1.Feeds |
| Article_Url | 1. article URL (optional) |
Once finished, your Set up action section should look like this:
Now let's move onto the code. Firstly, highlight and delete all the code in the box.
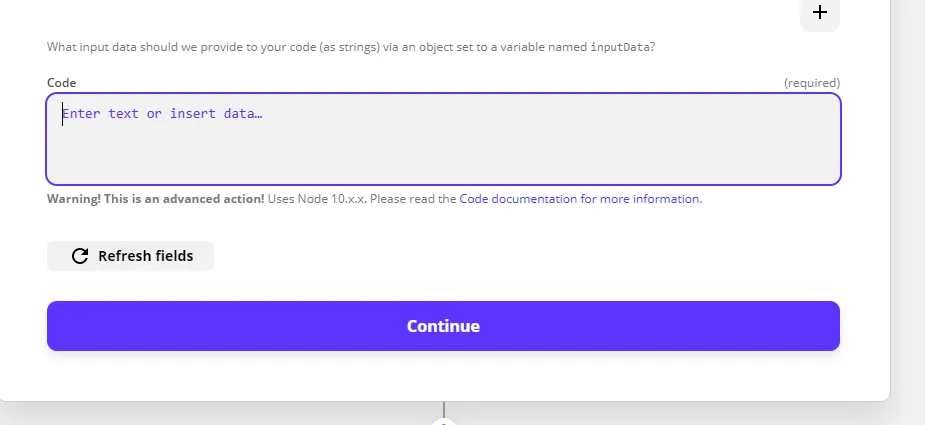
Now, highlight and add the following code into the box.
function truncate(str, n){
  return (str.length > n) ? str.substr(0, n-1) : str;
};

function sleep(ms) {
  return new Promise(resolve => setTimeout(resolve, ms));
}

var clientId = '***Insert Client Name***'
var clientSecret = '***Insert Client Secret***'
var token = ''

const querystring = require('querystring');
const https = require('https');

var authPostData = querystring.stringify({
    'grant_type': 'client_credentials',
    'client_id': clientId,
    'client_secret': clientSecret
});

var articlePostData = JSON.stringify({
    "title": inputData.Article_Title,
    "summary": truncate(inputData.Article_Body, 500),
    "priority": "Information",
    "channelId" : 508,
    "mainImageUrl": inputData.Article_Image,
    "tag": inputData.Article_Tag,
    "htmlContent": inputData.Article_Body,
    "publicUrl" : inputData.Article_Url,
    "articleType": "Social",
    "contentSettings": {
        "push": true,
        "sms": true,
        "email": true,
        "inApp": true,
        "teams": true,
        "allowLikes": true,
        "allowComments": true,
        "allowImagesInComments": true
    },
    "publicationDetails": {
        "publishImmediately": false
    }
});

var authOptions = {
    hostname: 'security.staffcircle.net',
    port: 443,
    path: '/connect/token',
    method: 'POST',
    headers: {
         'Content-Type': 'application/x-www-form-urlencoded'
       }
  };

var authRequest = https.request(authOptions, (res) => {
    let body = "";
    res.on('data', (chunk) => {
        body += chunk;
    });
    res.on("end", () => {
        try {
            console.log(body)
            let json = JSON.parse(body);
            console.log(json.access_token)
            token = json.access_token;
            SendArticleRequest(json.access_token);
        } catch (error) {
            console.error(error.message);
        };
    });
  });

  authRequest.on('error', (e) => {
    console.error(e);
  });

function SendArticleRequest(accessToken) {

    var articleOptions = {
        hostname: 'gateway.scp.staffcircle.net',
        port: 443,
        path: '/public/comms/v1/Articles',
        method: 'POST',
        headers: {
             'Content-Type': 'application/json',
             'Authorization' : 'bearer '+ accessToken,
           }
    };

    var articleRequest = https.request(articleOptions, (res) => {
        let body = "";
        res.on('data', (chunk) => {
            body += chunk;
        });
        res.on("end", () => {
            try {
                let json = JSON.parse(body);
                console.log(json)
            } catch (error) {
                console.error(error.message);
            };
        });
    });

articleRequest.on('error', (e) => {
        console.error(e);
    });

    articleRequest.write(articlePostData);
    articleRequest.end();
  }

  authRequest.write(authPostData);
  authRequest.end();

await sleep(9000);

output = [{'token': token}];
Scroll all the way to the top of the code box and the code should look the same as this:
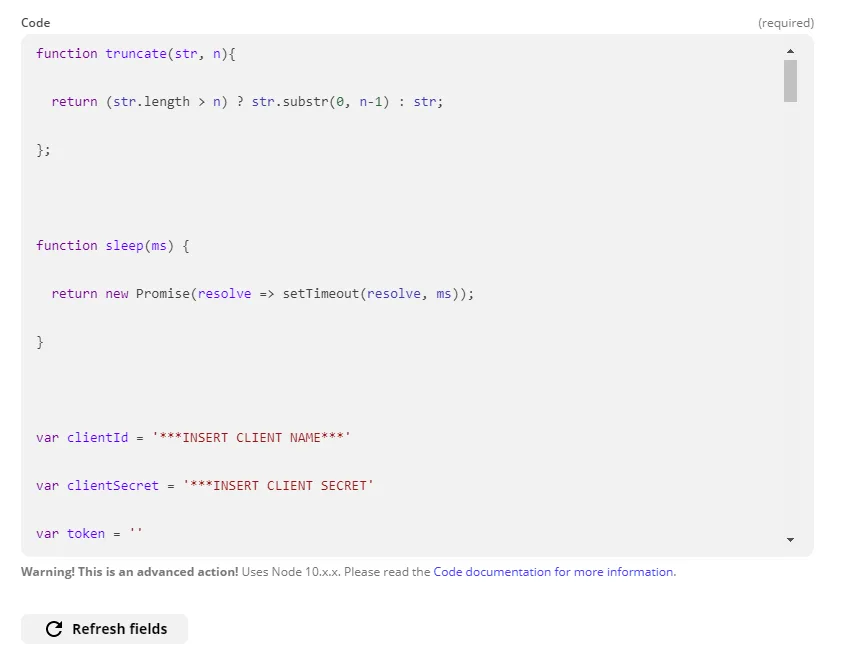
Now we need to change the values inside the triple starred areas. These two lines are the only lines which need changing.
Head back to the StaffCircle tab with the orange 'Client Created' box from Step 2.
 Copy the Client Name and paste this into the var clientID string as follows:
 It is important to keep the quotes around these two values.
Next, copy the Secret from the middle box in staffcircle. For security reasons, I will not be screenshotting this and will demonstrate with a fabricated secret.
Paste the secret key into the var clientSecret line as follows: 
Once these two values have been changed, click Continue and press 'Test and Continue'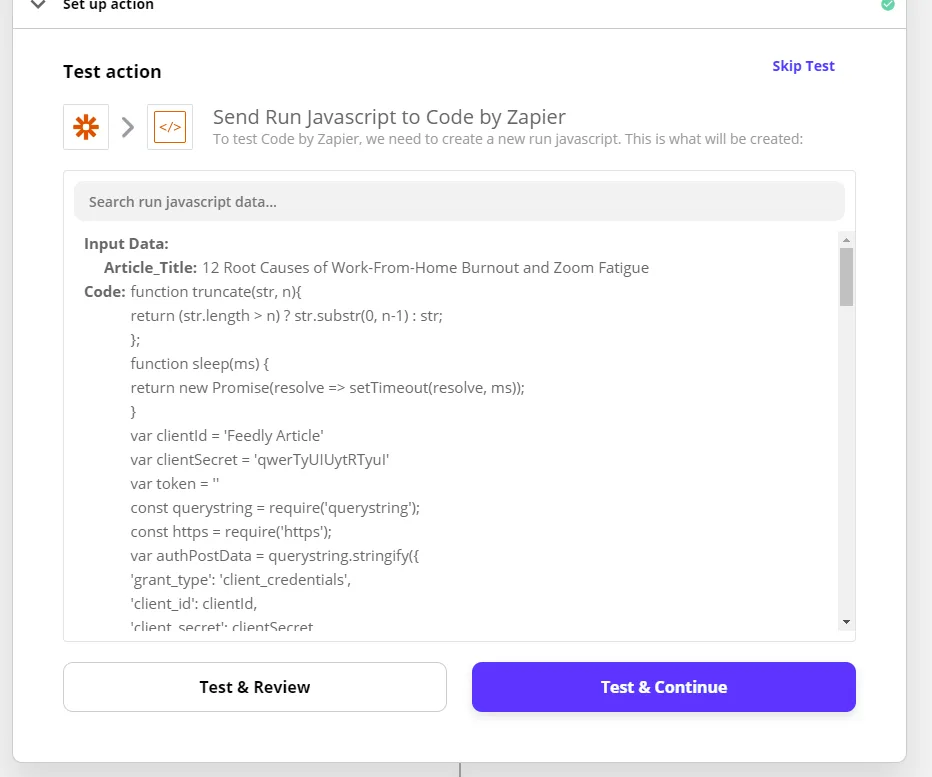
A successful test will display a green bar at the tom of the system and will show a green tick in the action as follows: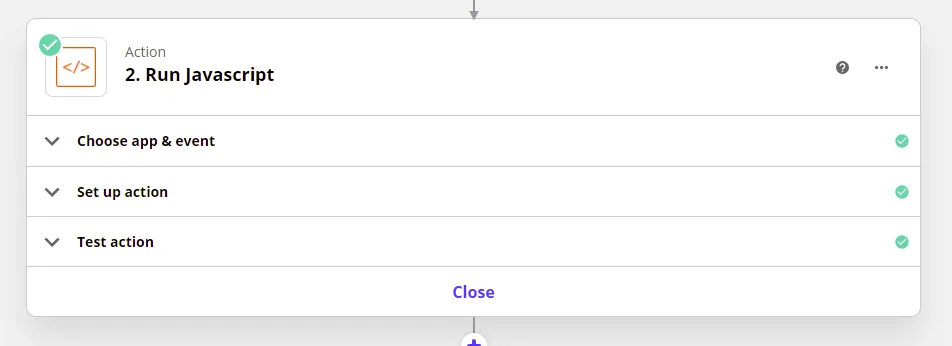
Step 4: Check the Zap
Congratulations! Now let's check everything is working as it should.
Head back into StaffCircle. We can now dismiss the orange Client Created box. We shouldn't need this anymore.
Navigate to Manage > Articles. We can filter the draft articles through the 'Draft' button.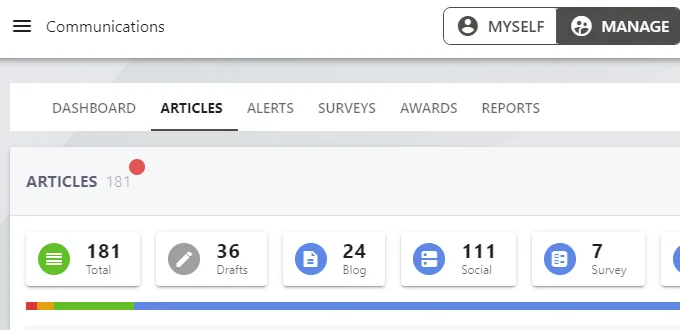
We should now be able to see the draft article and be able to edit and view this article prior to uploading.