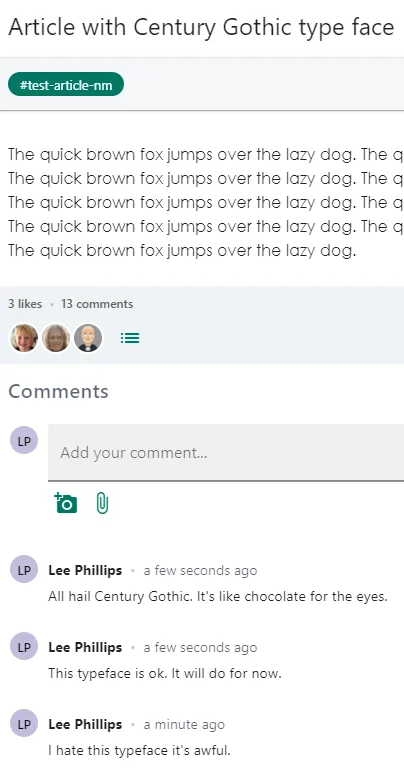
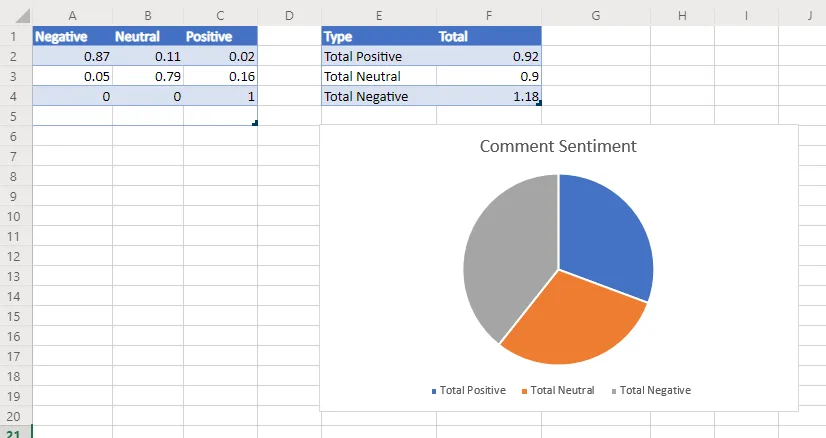
7.1.1 Flow Example - AI Sentiment Analysis
In this example we will use Microsoft's Power Automate system previously known as Microsoft Flow in order to gauge our overall company sentiment from the comments that are made on the system.
7.1.1 Setting Up a Document
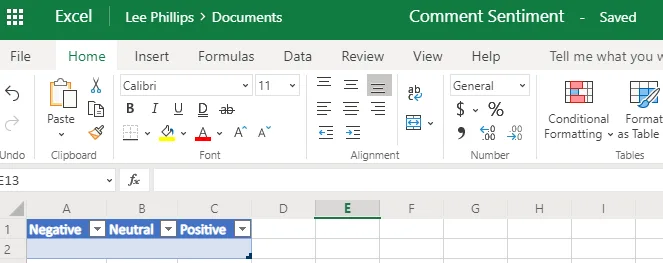
First we are going to create a new excel document in an MS One Drive. We will call this document 'Comment Sentiment'.
Create a table in this document and give it three columns: Negative, Neutral, and Positive.
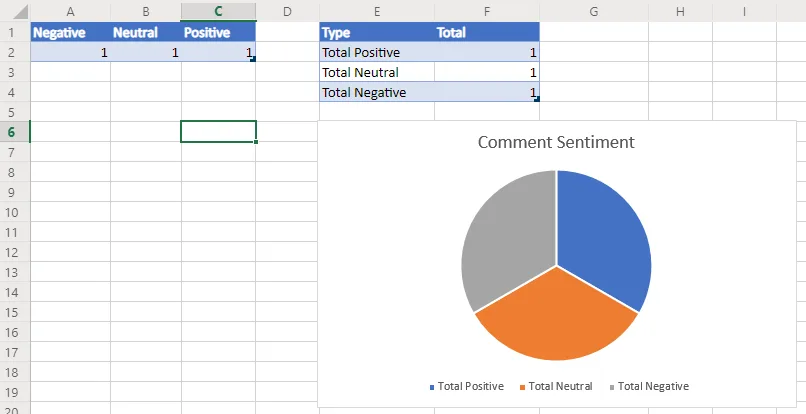
Lets also add some columns that show the total sentiment scores an a pie chart and add some dummy rows to test it.
7.1.2 Setting Up The Power Automate
Firstly select create and click automated flow. When you click this a wizard will appear. Skip the wizard. Select the Http trigger.
We are only really interested in the body of a comment in this example. So lets just use a simplfied json object representing the contents of a comment webhook. Click 'use sample payload to generate schema' then click done.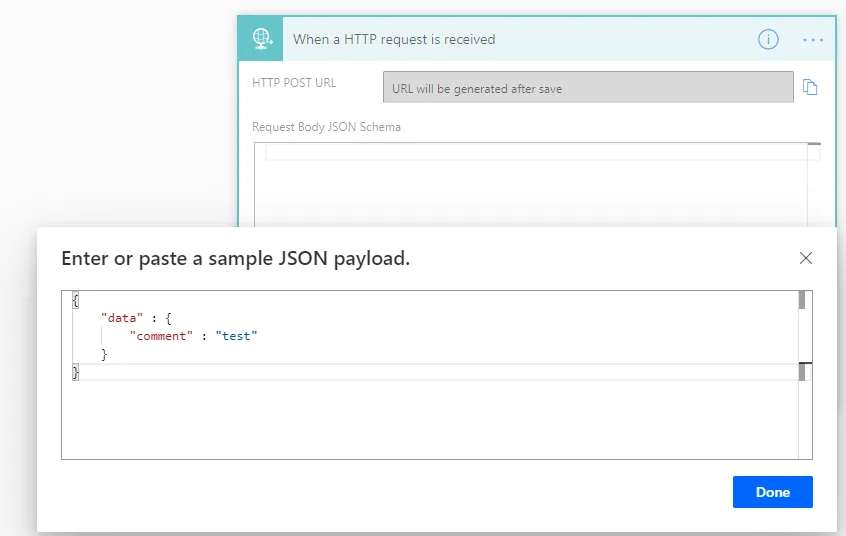
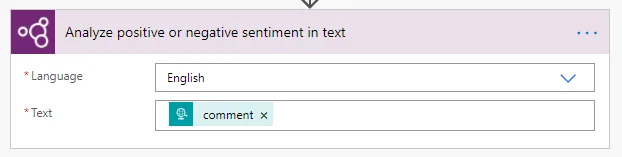
Click 'Next Step' and add an action for 'Analyze positive or negative sentiment in text'.
Select 'English' as the language and use the 'comment' extracted from our earlier http request as the text.
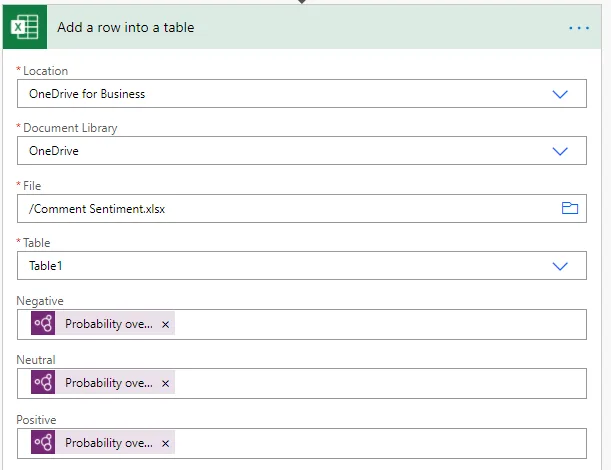
Click 'Next Step' and select the 'Excel Online' action and the 'add row' sub-action.

Fill in the details from our spreadsheet created in Section 7.1.1. And select the three probability fields from the Analysis step to the 'Negative', 'Neutral' and 'Positive' data fields, then save the flow.
7.1.3 Registering the Webhook
Once you have saved the flow look at your top action and expand it. You will see that Power Automate has now generated a url for you. You need to copy this URL.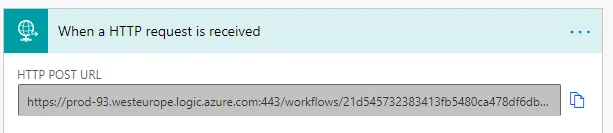
Create a new webhook as described in section 2.0. Using your post url from the last step as the url. Add a single subscription for comments that only listens to create events. Select 'None' for the authentication method.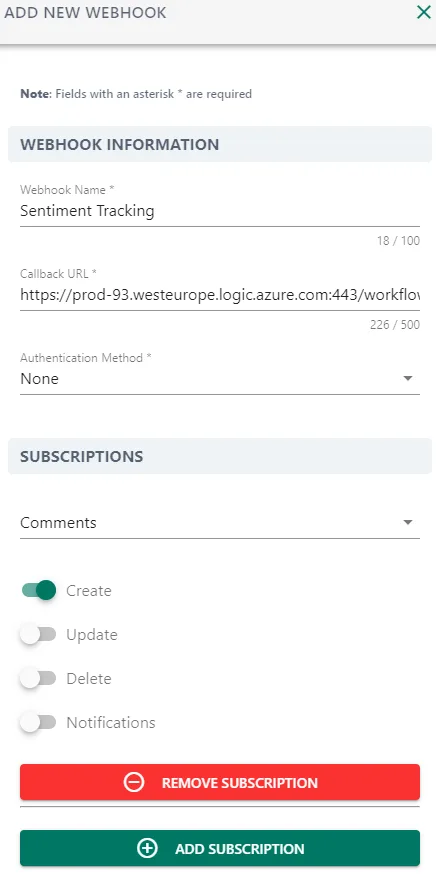
7.1.4 Test the system!
Let's write some comments on an article and watch as data is generated inside your excel document letting you know exactly how people are commenting across your platform.