Create your own OKR
In this lesson, you will learn to create your own OKR in StaffCircle. An OKR is a type of objective which is derived from individual objectives or key results. You can assign an OKR to yourself as long as your platform has objective templates for you to use.
Whilst you can use StaffCircle to create your own personal OKR, this objective will behave the same way as any OKR which has been assigned to you by your manager. As an employee, you are unable to delete/remove or amend the variables (due date, value) of your OKRs. However, you can amend the title and description (provided you have created the OKR yourself).
For information on what objective templates are available for you to use, we would recommend contacting your system administrator.
Adding an OKR (Part One)
Step One
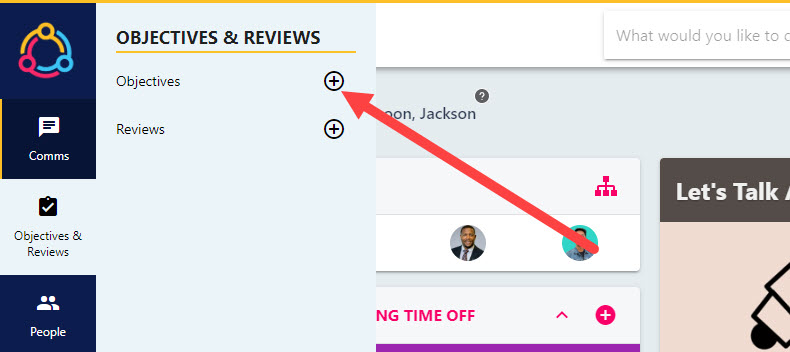
Hover over the Objectives and Reviews section of the side-bar, then navigate to: Objectives & Reviews ➡️Objectives. Select the ➕ next to Objectives to open the ADD OBJECTIVE pull-out drawer to the right.
Step Two
Select the appropriate template in the ‘Template to use’ drop-down menu – OKR templates can be identified with a pink OKR tag.

If the ‘Template to use’ drop-down menu appears empty, contact your system administrator. This indicates that Objective Templates have not been configured for your platform.
Step Three
You can now configure the properties of the OKR including its title. Please refer to the grid below for further information on completing the fields within the form.
| Field Name | Description |
|---|---|
| Title | The name or title of the OK. Ensure that this clearly summarises what you are trying to achieve. Remember that this is not the individual objective or key result which sits underneath the OKR. |
| Description | A brief description to explain what the objective is about. This should ideally summarise the activities associated with the individual key results which are created afterwards. |
| Date Starts | The date that you are due to start working towards the OKR. |
| Date Ends | The date that you aim to complete the OKR. |
Step Four
Click the ‘Save’ button in the bottom right-hand corner of the drawer once the fields within the form have been populated. Assigning your own OKR will notify your manager, as they will become the reviewer of the OKR.
Remember, once you have assigned your own objective you are unable to delete this. Contact your manager so that they can delete this objective on your behalf.
Step Five
The OKR you have just assigned to yourself will appear as a new tile within your personal objective area and you can now add the individual key results by following the instructions below.
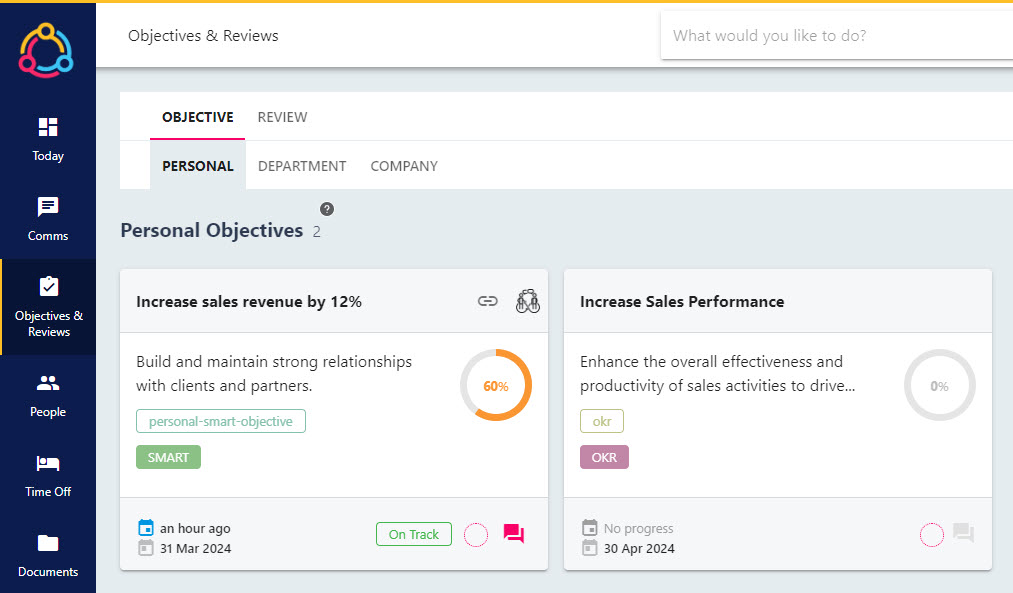
Remember that unlike SMART objectives (which are standalone objectives), OKRs are comprised of smaller objectives or key results.
Adding Key Results to an OKR (Part Two)
Step One
Click on the tile associated with the OKR you have just created. At this stage of the process, you can add the individual key results (smaller objectives) within the OKR.
Step Two
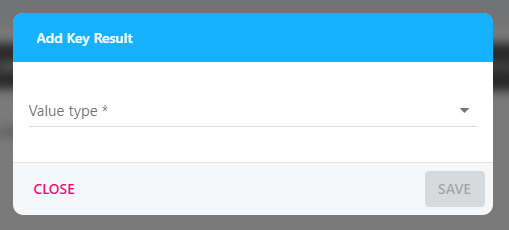
Click the ‘+’ button next to the ‘Objective Key Results’ header to open the ‘Add Key Result’ pop-up box in the centre of the screen.

Step Three
Select the value type from the drop-down menu. This will determine how the key result will be measured (Percentage, Number, Financial, Yes/No).
Step Four
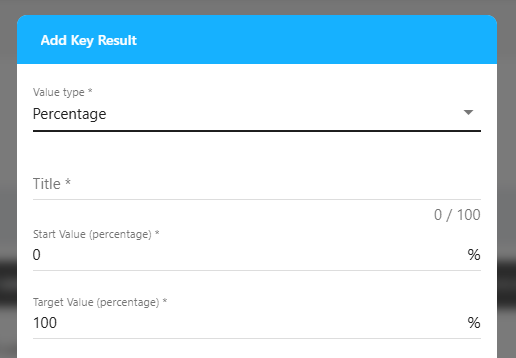
You can now configure the properties of the key result including the title which should summarise what the individual key result/objective is to achieve. You can also set the start value and target value i.e 0 to 100 for key results which are measured as a percentage (0-100%).
Step Five
Once the fields within the pop-up have been configured, click the ‘Save’ button in the bottom right-hand corner of the dialogue to add the key result to the OKR.
Remember, as an employee you will be unable to delete/remove any key results yourself. If you have created your key result in error we would recommend reaching out to your manager.
Step Six
The key result’s title will now appear in the coloured banner. We would recommend adding two/three more key results to the OKR by following steps two to five above. You can navigate through the different titles by selecting the title and arrows in the coloured banner.

You can update the title and description of a key result you have assigned to yourself by selecting the three dots next to the title of the key result. You can update the title and description of the OKR itself by clicking on the pencil icon in the top right-hand corner of the drawer.