
Roles
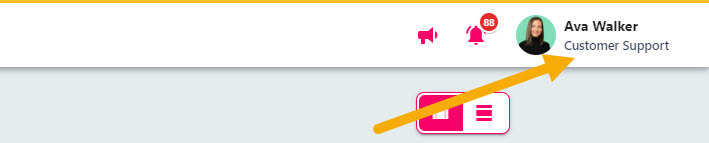
There are several benefits of assigning roles to employee’s in the platform. The employee’s role is visible to all employees via the Directory, but to the employee themselves underneath their name in the top right-hand corner of the screen – so it’s important that this information is accurate.
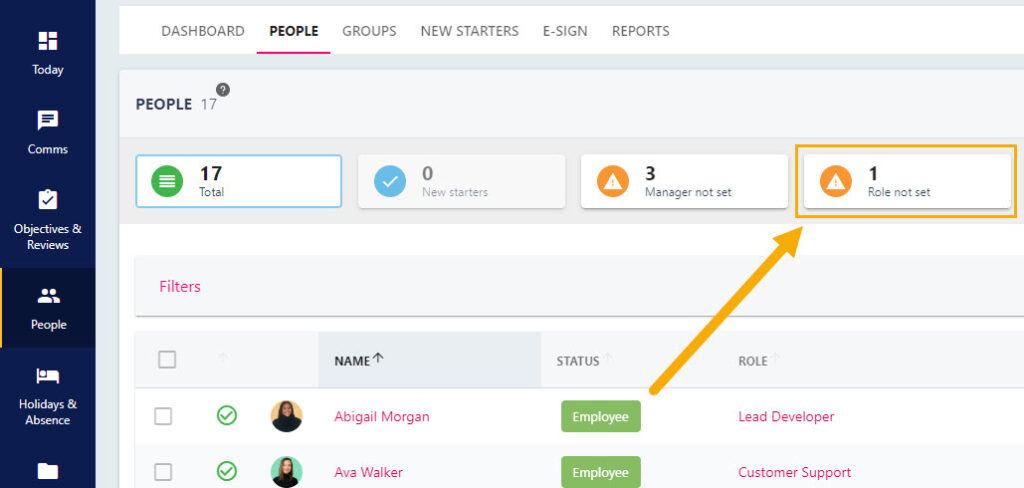
You can quickly identify any employees in the platform who do not have a role assigned by navigating to the Manage People area of the platform. Select the Role not set button to filter the list to display employee’s without an assigned role.
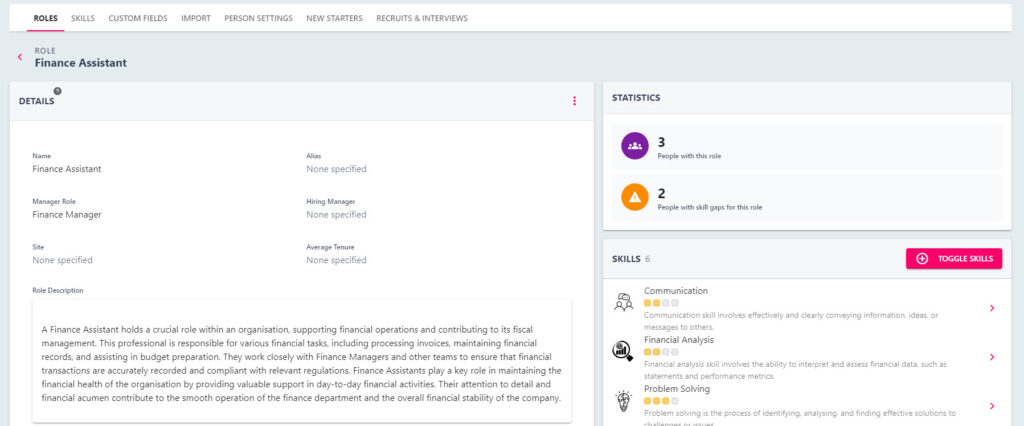
Skills can be assigned at a role level, and any employees associated with that role inherit these recommended skills. This helps to set the benchmark of proficiency required for the role and quickly identifies any employees who are under or over performing.
If you are using Succession Planning or Career Development, it is essential that roles in your platform are well maintained and that career progression is appropriately mapped so that these features can be utilised.
Add a Role
You can add roles in to the platform before you assign them to individuals. This means that when you are creating new people in the platform, or updating a person’s role you can simply select the role you have created from the relevant drop-down (please refer to the assigning a role to an employee section of this guide).
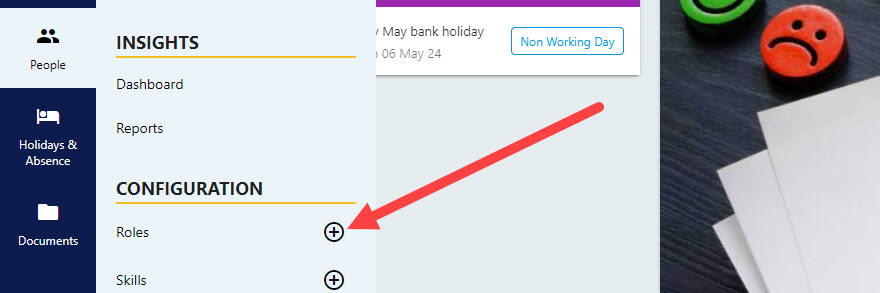
Step One
Hover over the People section of the side-bar, then navigate to: Configuration ➡️Role. Select the ➕ next to Role to open the ADD ROLE pull-out drawer.
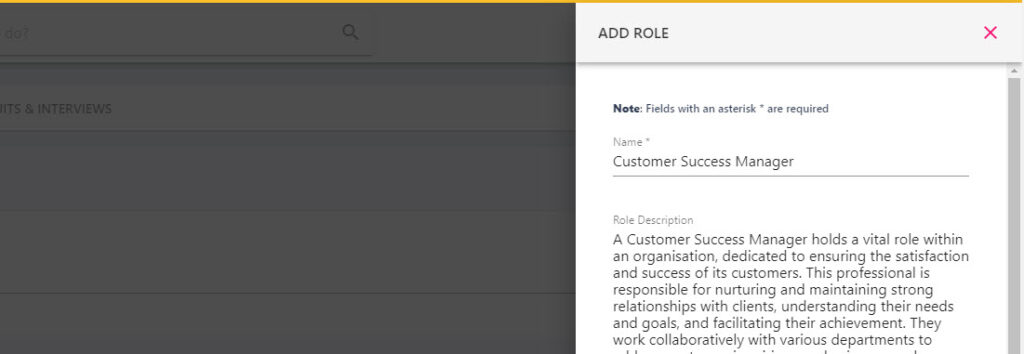
Step Two
Complete the fields within the form, noting that the fields with an asterisk * are ‘required’ fields and therefore the role cannot be saved without this information. Specifying the name of the role will populate an alias, you may also wish to add a brief role description.
You can also specify the Hiring Manager, Manager Role (the individual who typically oversees individuals in this role), the Site (if all employees with this role are based at a single Site), and average tenure for an employee fulfilling this role.
Step Three
Click the save button in the bottom right-hand corner of the screen to add the role to the platform. If you are using Career Progression and Succession Planning then you will now need to add the role’s progression routes. If you are not using the feature you can disregard the steps below.
Step Four – Adding Role Progression Routes
Select the tile of the Role from the roles area. This will open up the Role Details page and is where you can see how many people are currently in this role, assign skills, and set the role’s progression routes.
Step Five
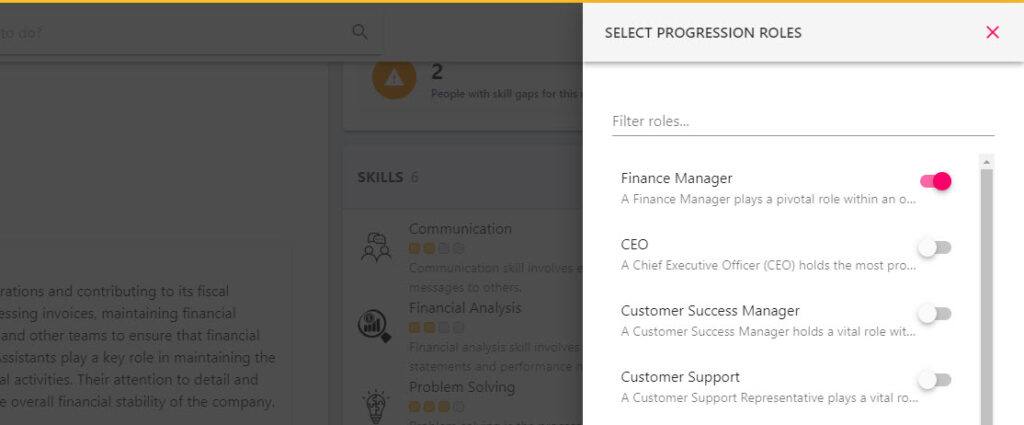
Navigate to the Role Progression section at the bottom of the page and select the pencil icon to open the SELECT PROGRESSION ROUTES pull-out drawer.

Step Six
Toggle on the role(s) which a person can progress into and click the SAVE button to add this to the role. Remember, you can toggle on multiple roles in this area.
Assign a Role to an Employee
You can assign a role to an employee when adding the employee to the platform. However this section will cover how you can update an employee’s role via their Profile.
Step One
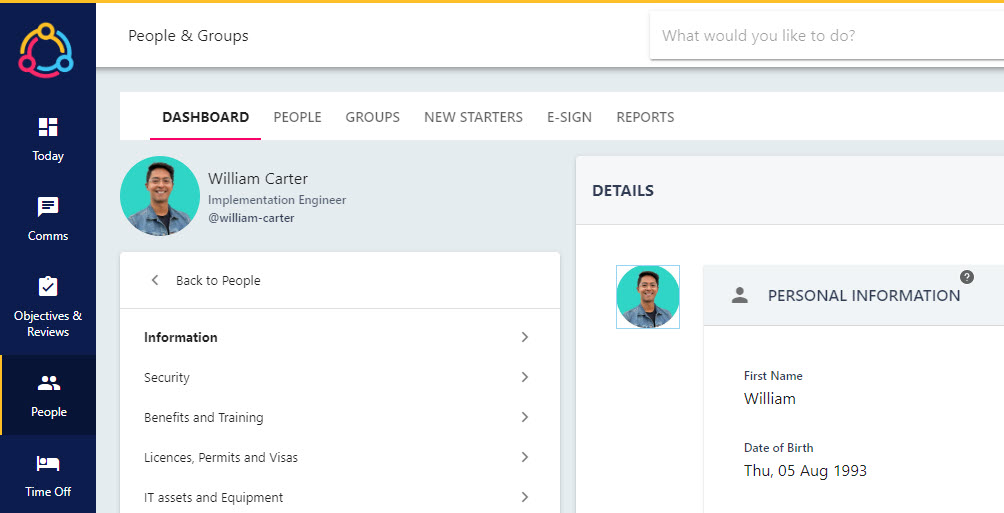
Hover over the People section of the side-bar, then navigate to: Manage ➡️People. Select the People title to open the list of employees.
Step Two
Select the name of the person from the list using the search bar or filters. This will open the person’s profile in an editable form and their personal information section will display in the centre of the page.
Step Three
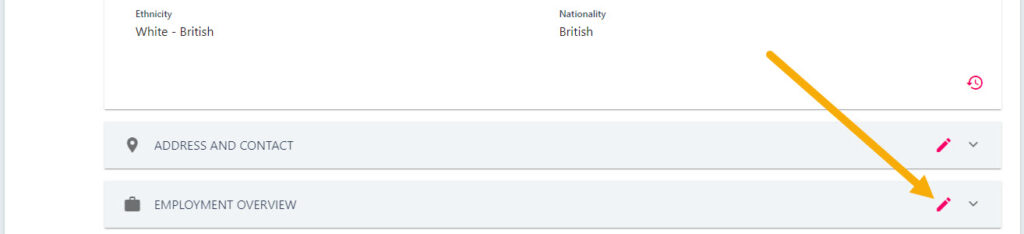
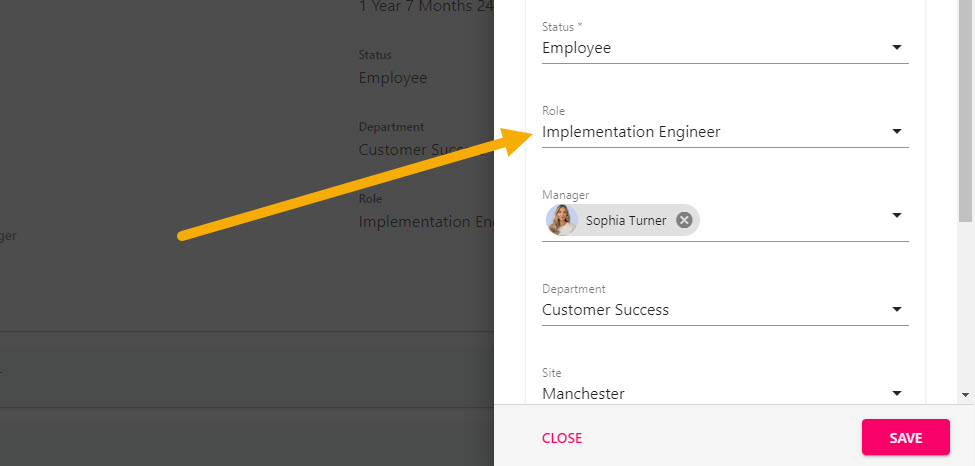
Under the Employment Overview section, click on the pencil icon to open the UPDATE PERSON pull-out drawer to the right-hand side of the page. This is where you can update the employee’s employment information including their role.
Step Four
Navigate to the role field and select the name of the new role from the drop-down menu. Once updated, click on the SAVE button to confirm the change.
If you scroll to the bottom of the drop-down menu, you will see an option to add a new role to the platform. If you do decide to add the role at this point, remember to navigate to the Roles section of the platform to add the role progression and recommended skills.
Delete or Configure a Role
Is is good practice to remove a role from the platform if it is no longer required. This makes it easier to manage role changes in the platform, particularly when assigning roles to employees and recommended skills.
Step One
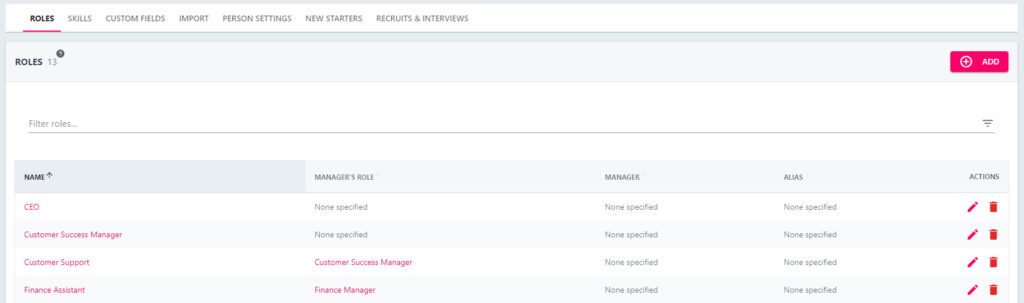
Hover over the People section of the side-bar, then navigate to: Configuration ➡️Role. Select Roles title to display a definitive list of your platform’s roles.
Step Two
Under the ACTIONS section of the table, click on the red trash can icon to permanently remove the role from the platform. Alternatively you can click on the pencil icon to configure the role’s details including the roles name, update progression routes, and assign new recommended skills.
