Absence Policies
Absence policies are assigned to employees and create structure and limitations for what an employee can request. The primary purpose of an Absence Policy is to determine how much holiday an employee can take in a holiday year, and how many days they can carry over (if permitted) to the next leave year.
It is likely that your organisation will have several Absence Policies, particularly if your organisation employs individuals on a part time basis, or employees work a mixture of days and hours.
Within an absence policy, you will be able to change the approver of absence types if this needs to differ from the employee’s manager. This is ideal for organisation who work in shift patterns or teams. So in these instances it is logical to create separate absence policies for each individual teams. System Administrators will generally speaking be able to approve absences of all employee’s within the business.
Absence policies also define restrictions to limit the amount of leave taken in any given time period, and if any additional days/hours are awarded for length of service.
Create an Absence Policy
Step One
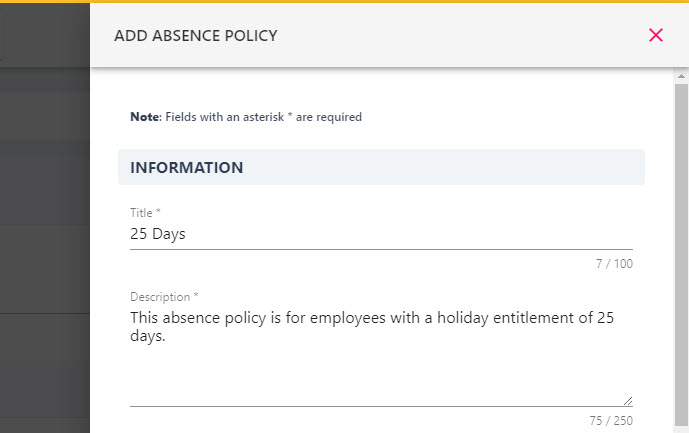
Hover over the Time Off section of the side-bar, then navigate to: Configuration ➡️ Absence Policies. Select the ➕ next to Absence Policies to open the ADD ABSENCE POLICY pull-out drawer to the right-hand side of the page.
Step Two
Start completing the fields within the form by configuring a title for the absence policy (we would recommend including the holiday allowance in the title for ease when assigning the policy i.e 25 days) and a description (this is only visible to system administrators).
Step Three
Under the SETTINGS header of the form, adjust the toggles following the guidance in the grid below.
| Toggle Name | Description |
|---|---|
| Default | Should be switched on if the absence policy you are creating should be applied to all new users to the system. You can only have one default absence policy. |
| Approval Required? | Ensures that the employee’s holiday request needs to be approved by their Manager. |
| Allow Unauthorised | Allows users to book Absence Types that are set as Un-Authorised. |
| Use Hours? | Needs to be toggled on if the policy entitlement should be set in hours instead of days. |
Step Four
Populate the Number Of Days/Hours with the holiday entitlement. This is the standard entitlement that an assigned employee will be able to use for their holiday requests.
Maximum Number of Consecutive Days/Hours is used to determine the maximum number of consecutive of working days in a single holiday request.
If your organisation allows for employees to carry over any unused leave at the end of the holiday year – you can specify the number of days/hours in the Maximum days/hours allowed for Carry Over field.
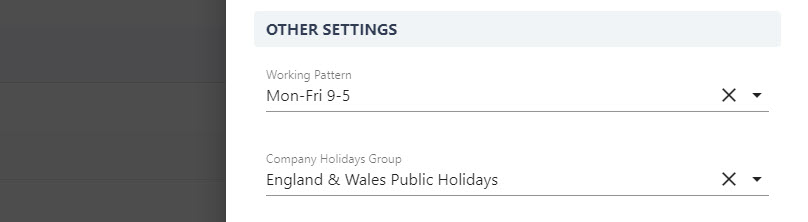
Step Five
You can associate the Absence Policy with a Working Pattern and Company Holiday which. The employee associated with this absence policy will automatically inherit this working pattern and company holiday.
Step Six
If the employee’s holiday requires approval from their line manager, toggle on the Manager Approval toggle, otherwise you can select a Default Approver. The Additional Approver grants one additional user within the organisation the ability to approve leave requests for this absence policy.
The Additional Approver is usually an individual who sits within the organisation’s HR team and can approve leave in instances when the manager is away from the business for example.
Step Seven
In the NOTIFICATION SETTINGS area of the form, toggle on the relevant notifications. These notifications ensure that managers are notified when leave requests are submitted, and employees are notified when their leave has been approved/declined.
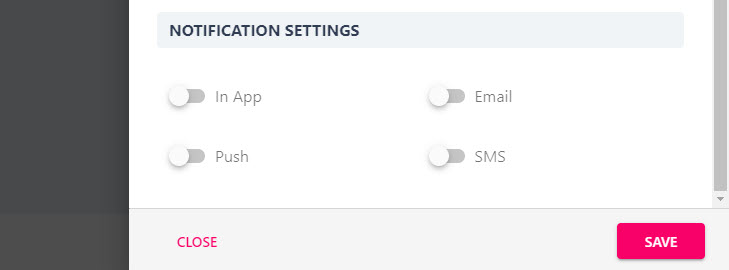
Step Eight
Click the SAVE button in the bottom right-hand corner of the form to add the absence policy to the platform.
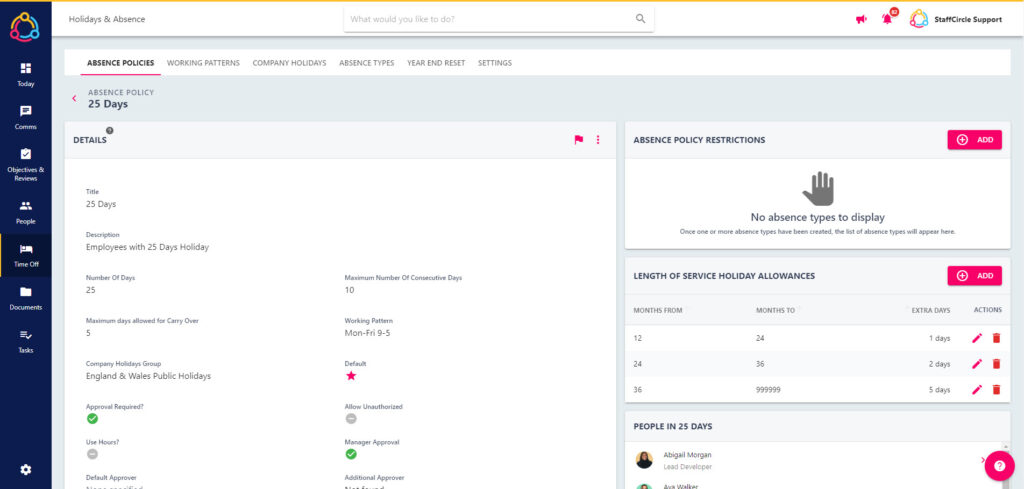
Once the absence policy has been created, you are now able to configure additional settings including any date/time restrictions, and any length of service allowance. Please refer to the relevant sections below for further guidance.
Absence Policy Restrictions
Within an Absence Policy, you can associate restrictions so that employees are limited to what leave they are able to book during a certain period of time.
This feature is ideal for organisations which experience busier ‘months’ for example. Within StaffCircle you can restrict this so that employees cannot book leave during this period of time, or they are restricted to how much leave they are able to take.
Step One
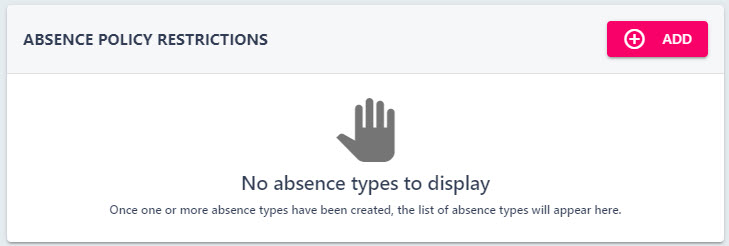
Open the Absence Policy by selecting its title from the Absence Policy list, this will open the details page. The ABSENCE POLICY RESTRICTIONS box will appear to the right-hand side of the page.
Step Two
Click the ADD button to open the ADD ABSENCE POLICY RESTRICTION pull-out drawer to the right-hand side.
Step Three
Enter the date range (period) in the Effective From/To fields i.e a specific month. Then set the Maximum Consecutive Days/Hours that can be booked in that period.
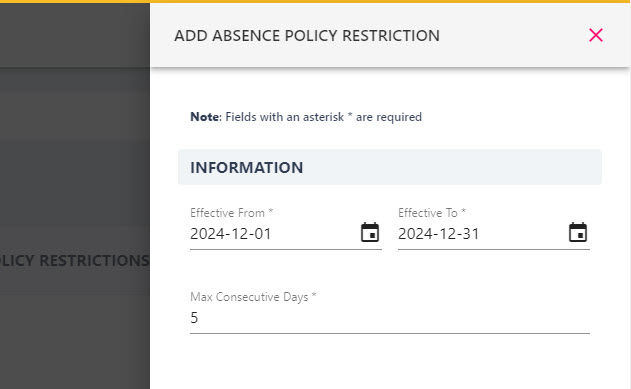
Example: if you wanted to apply a restriction to entire month of April so that no employees associated with this absence policy could book holiday. You would need to specify the entire month of April in the date ranges, and add 0 in Maximum Consecutive Days
Step Four
Click the SAVE button to add the restriction to the absence policy.
The restriction will apply when the employee attempts to book an holiday during this period of time, however the employee will not be notified of the reason why this has been restricted.
Length of Service
Within an Absence Policy, you can add a length of service to grant additional holiday days to the employee after working for the business for a certain period of time. This is calculated based on the employee’s Start Date in their profile (a requirement of adding an employee to the platform).
The additional days/hours will be credited on the anniversary month, not at the beginning of a calendar/holiday year.
Step One
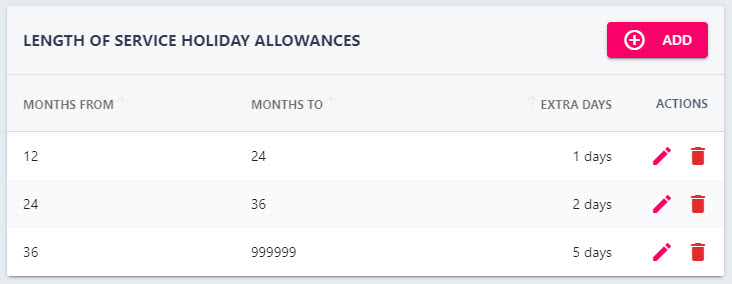
Open the Absence Policy by selecting its title from the Absence Policy list, this will open the details page. The LENGTH OF SERVICE HOLIDAY ALLOWANCES box will appear to the right-hand side of the page.
Step Two
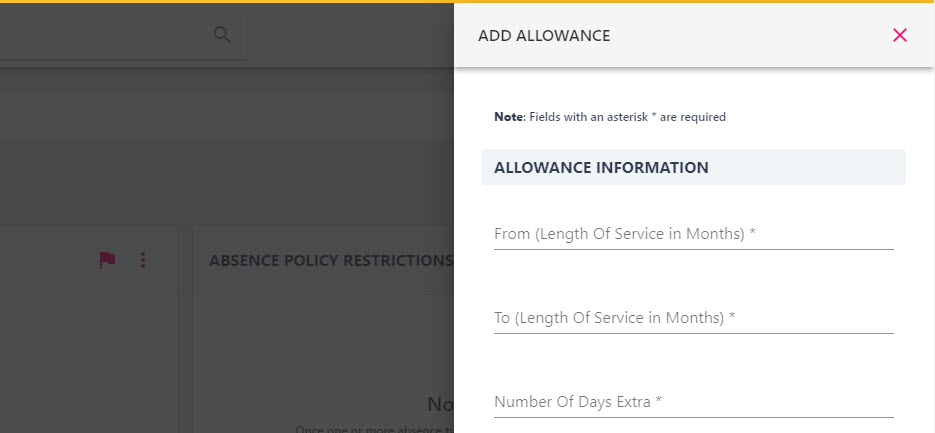
Click the ADD button within the box, this will open the ADD ALLOWANCE pull-out drawer to the right-hand side.
Step Three
In the From field, specify at what month the additional holiday starts (i.e after one year: 12 months).
In the To field, specify what month the additional holiday ends (i.e after two years: 24 months).
In the Number of Extra Days column, add the amount of additional days/months the employee will receive.
Step Four
Click the SAVE button to add the restriction to the absence policy.
Change an Employees Absence Policy
The default Absence Policy is automatically assigned to an employee when they are set up in the platform. However, the absence policy can be updated against the individual’s profile.
The main reason why you would need to change an employee’s absence policy is if their holiday balance differs from the default absence policy.
Step One
Hover over the People section of the side-bar, then navigate to: Manage ➡️ People. Select the People title to view a list of employees in the platform.
Step Two
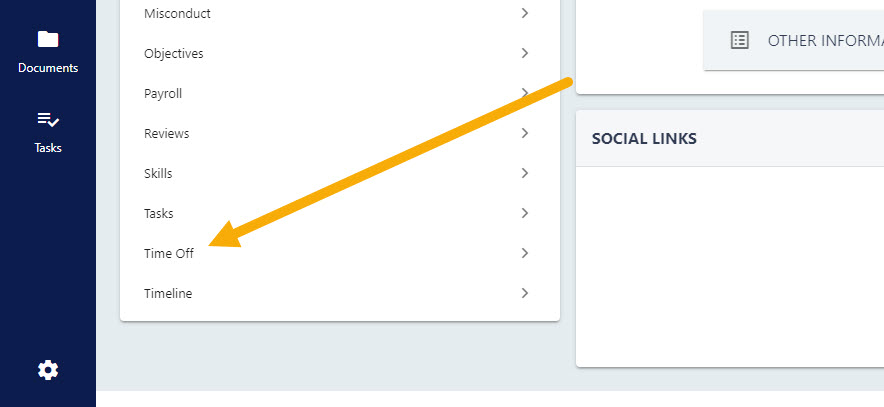
Select the employee’s name from the list to open up their profile, then elect the Time Off tab on the left hand side of the page.
Step Three
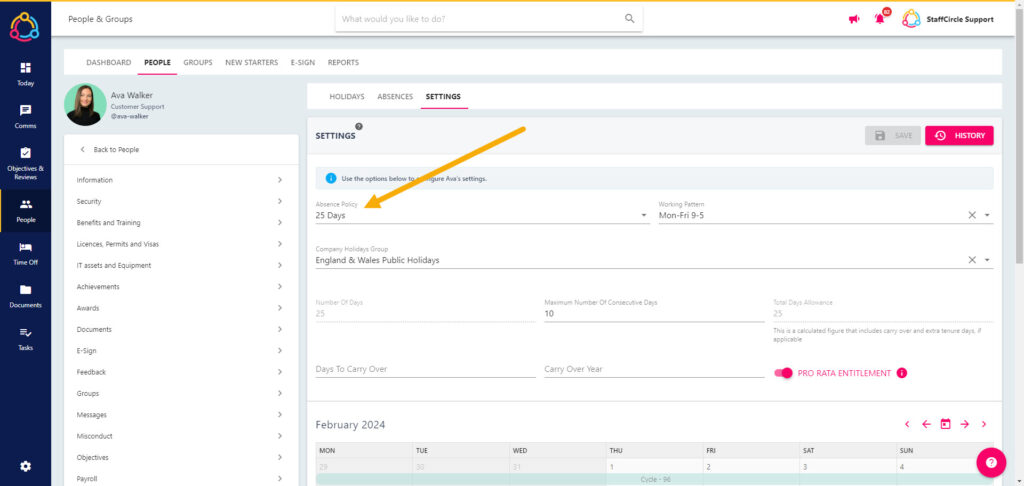
Select the SETTINGS tab at the top of the page, this will display the employee’s current Absence Policy, Working Pattern, Company Holidays Group etc. In the Absence Policies drop-down field, select the new policy from the drop-down.
Step Four
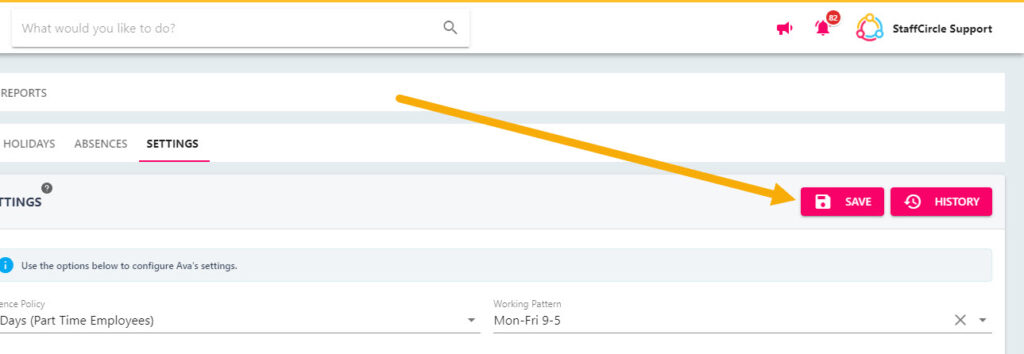
Click the SAVE button to save any changes made to the employee’s absence settings.
Update or Delete an Absence Policy
From time to time, you may need to update the information in an absence policy, any changes made will immediately apply to the employees associated with this policy. Alternatively, you may want to delete unused absence policies as part of platform housekeeping.
Step One
Hover over the Holiday & Absence section of the side-bar, then navigate to: Configuration ➡️ Absence Policies. Select the Absence Policies title and proceed with step three.
Step Two
Select the pencil icon next to the absence policy. This will open the UPDATE ABSENCE POLICY pull-out drawer to the right-hand side. In this drawer you can update the fields associated with the absence policy (you may wish to use the guidance in this document to help you).
Alternatively, select the red trash can icon to the right-hand side of the screen next to the policy you wish to delete.
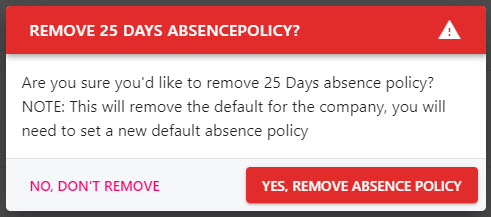
A pop-up will appear in the centre of the page to confirm you wish to delete the policy. Select YES, REMOVE ABSENCE POLICY to confirm deletion.